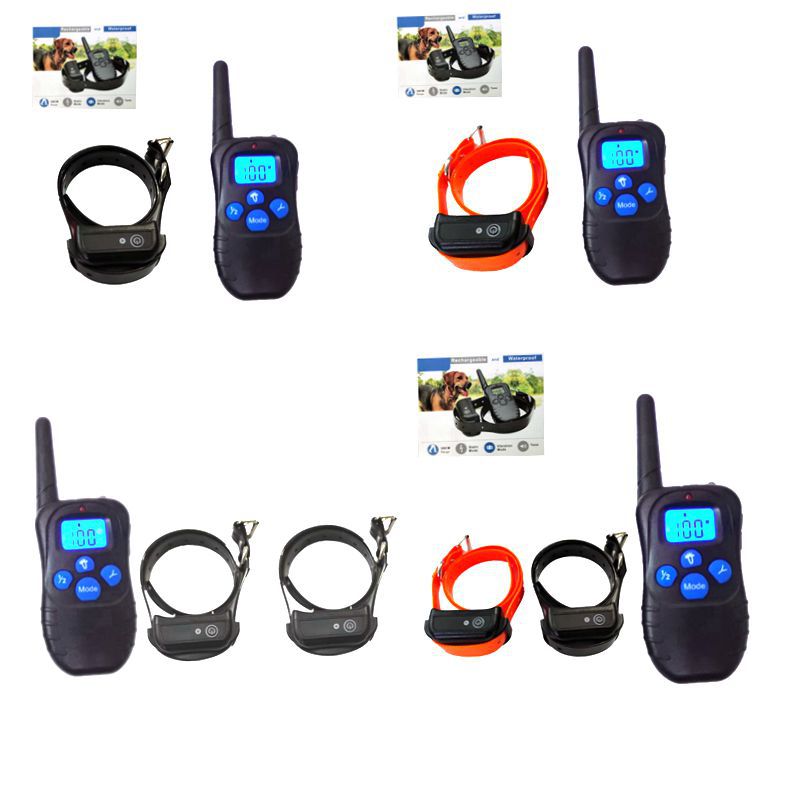
Pet Training Collar Anti Barking Device Waterproof Rechargeable Electric Shock Dog Training Collar With Remote Control
Pet Training Collar Anti Barking Device Waterproof Rechargeable Electric Shock Dog Training Collar With Remote Control
Note: Only 7 units left in stock
Couldn't load pickup availability
- Free Shipping over $40
- 60-Day Guarantee
- 24/7 Chat Support
Our Guarantee
Our Guarantee
If there is any issues at all with your order, don't hesitate to reach out to our customer support team at service@shopaholicanonymous.com
We're happy to offer you an immediate solution, including a 100% Full Refund or Exchange with no questions asked, and ensure you are satisfied with your experience!
Tracked Worldwide Shipping
Tracked Worldwide Shipping
Free Shipping over $40 Worldwide (Unless otherwise stated)
US:
Process time 2-3 days. Shipping 7-10 Bussiness days.
EUROPE:
Process time 2-3 days. Shipping 7-12 Bussiness days.
REST OF THE WORLD:
Process time 2-3 days. Shipping 7-15 Bussiness days.
Please contact our customer service team for assistance if you have any questions or concerns about your shipment.
Service@shopaholicanonymous.com
main feature
1. The remote control transmitter is flexible, compact and easy to use.
2. The receiver can be used normally when the dog drinks water or on rainy days, and can swim and dive.
3. The vibration and static electricity gears can be adjusted. Please select the appropriate gear when using it for the first time. During the trial, increase the gears from 1 to 100 step by step.
4.4 functional modes: static/vibration/sound/flash
5. The remote control distance of this pet trainer is within 300 meters. (without any interference)
6. There are 2 signal channels, one remote control transmitter can control two receivers of the same model
7. Energy-saving design, with automatic standby and memory functions.
8. This trainer is suitable for most medium and small dogs.
1 set of product weight: 320g (including charger and plastic packaging)
Packing: 50 sets/carton
Net weight: 16kg
Gross weight: 17kg
Related description
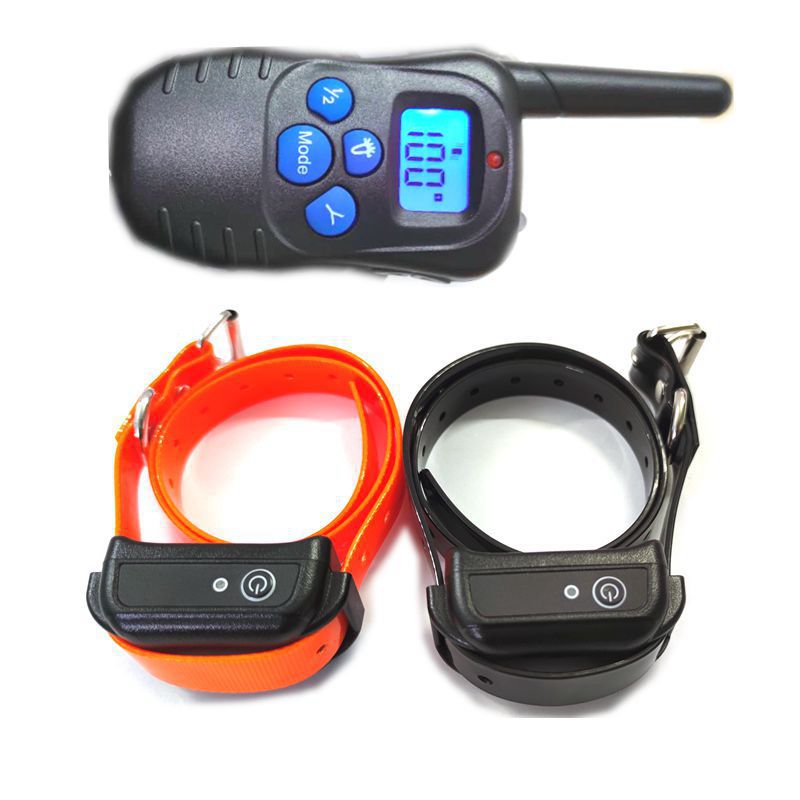
①. Antenna: transmits signals to the receiver.
②.Flashlight: It will light up when pressing button ⑥ in picture.
③.Indicator light: When the remote control transmitter is working, this light will flash: When charging, this light will be red.
④.LED screen
4. Electrostatic mode: In this mode, press the Y button, the receiver will emit static electricity: Press the up/down button to adjust the gear. The gear is divided into 0-100 passes. Vibration mode: In this mode, press the Y button, the receiver will
Emit vibration: Press the / up / down button to adjust the gear. The gear is divided into 0-100
D sound mode: In this mode, press the Y button, the receiver can make a beep sound, and the gear position cannot be adjusted.
Flash mode: In this mode, press the Y button, the receiver's LED light will continue to flash red.
Signal channel 1.2: Use the ⑦ button in Figure 7 to select signal channel 1 or 2 as the channel to connect the remote control transmitter and receiver.
Note: If you purchase 1 receiver, you can choose any signal channel.
Buy 2 receivers and choose one signal channel each, that is, control them separately. After selecting the signal channel, follow the instructions below and follow the correct operations to connect the signals to the remote control transmitter and receiver.
⑤Up/Down buttons: Adjust vibration and static electricity levels
⑥.LED flashlight button: Press this button and the transmitter LED flashlight will light up.
⑦. Signal channel button: Before connecting the remote control transmitter and receiver signals, press this button to select signal channel 1 or 2 as the signal channel of the trainer.
⑧. Command button: After selecting the function mode, press this button to issue commands for training.
⑨.Mode mode button: including 4 modes, electrostatic mode, vibration mode, sound mode and flash mode.
⑩. Charging hole: used for charging the transmitter
①. Power switch: turn on/off the receiver, connect the signal to the remote control transmitter, or reset the signal.
②. Contact points (electrodes): Install a pair of screw caps (electrode contact points) suitable for dog hair of different thicknesses to effectively conduct static electricity and facilitate training.
③. Charging hole: used for charging the receiver. Rubber cover: Please cover the receiver after charging
④Power indicator light: Indicates whether the receiver is on or off. 0.Charging indicator light: shows the charging status of the receiver


